Handlebar Bags
If a compact saddle bag is all you ride with now, my recommendation is to start expanding your carrying capacity with a simple and affordable handlebar bag.
Luckily, we live in the Golden Age of bike bags. From countless small independent makers like Outer Shell and Dispersed Bikepacking, to the former grassroots makers like Swift Industries and Revelate Designs who have grown to the point that you can find their bags in REI, the options are plentiful.
Additionally, innovations by small makers have pushed the bigger bike accessory and bag companies like Blackburn, Ortlieb, and Topeak, to expand their lines from the rack and pannier systems used in the past to a full range of frame bags, seatpacks and handlebar bags.
You might find Bikepacking.com’s “Complete Guide to Bikepacking Bags,” which includes a thorough though not comprehensive list of bag makers, a convenient place to start.
There are three major design factors to consider:
- Storage capacity
- Attachment
- Access
Storage capacity of your handlebar bag
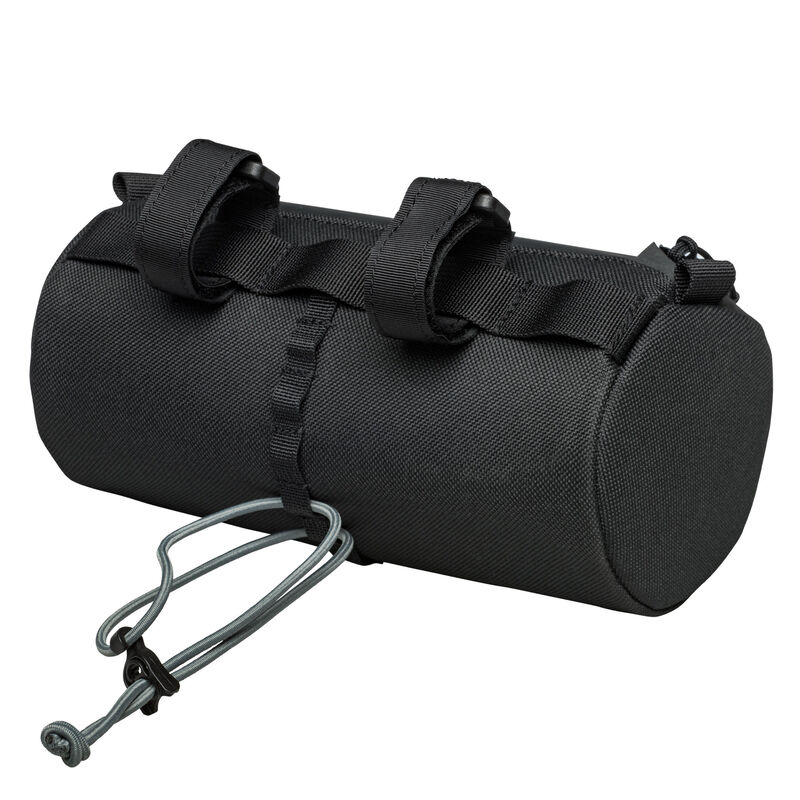
You’ll want a capacity of at least 3L (about 180 cu. in.) to fit anything useful in it. That means avoiding the small burrito bags, like the 1.2L Blackburn bag shown below, that are really marketed to road cyclists who prefer a clean and minimalist aesthetic over actually being prepared for an adventure.
Remember, you want to start your ride with the confidence that you’ve got room to carry whatever you might need for your adventure’s unexpected encounters. If you find yourself barely able to cram the essentials into your small handlebar bag, you’re unnecessarily hamstringing yourself before the ride even starts.
Attachment of your handlebar bag
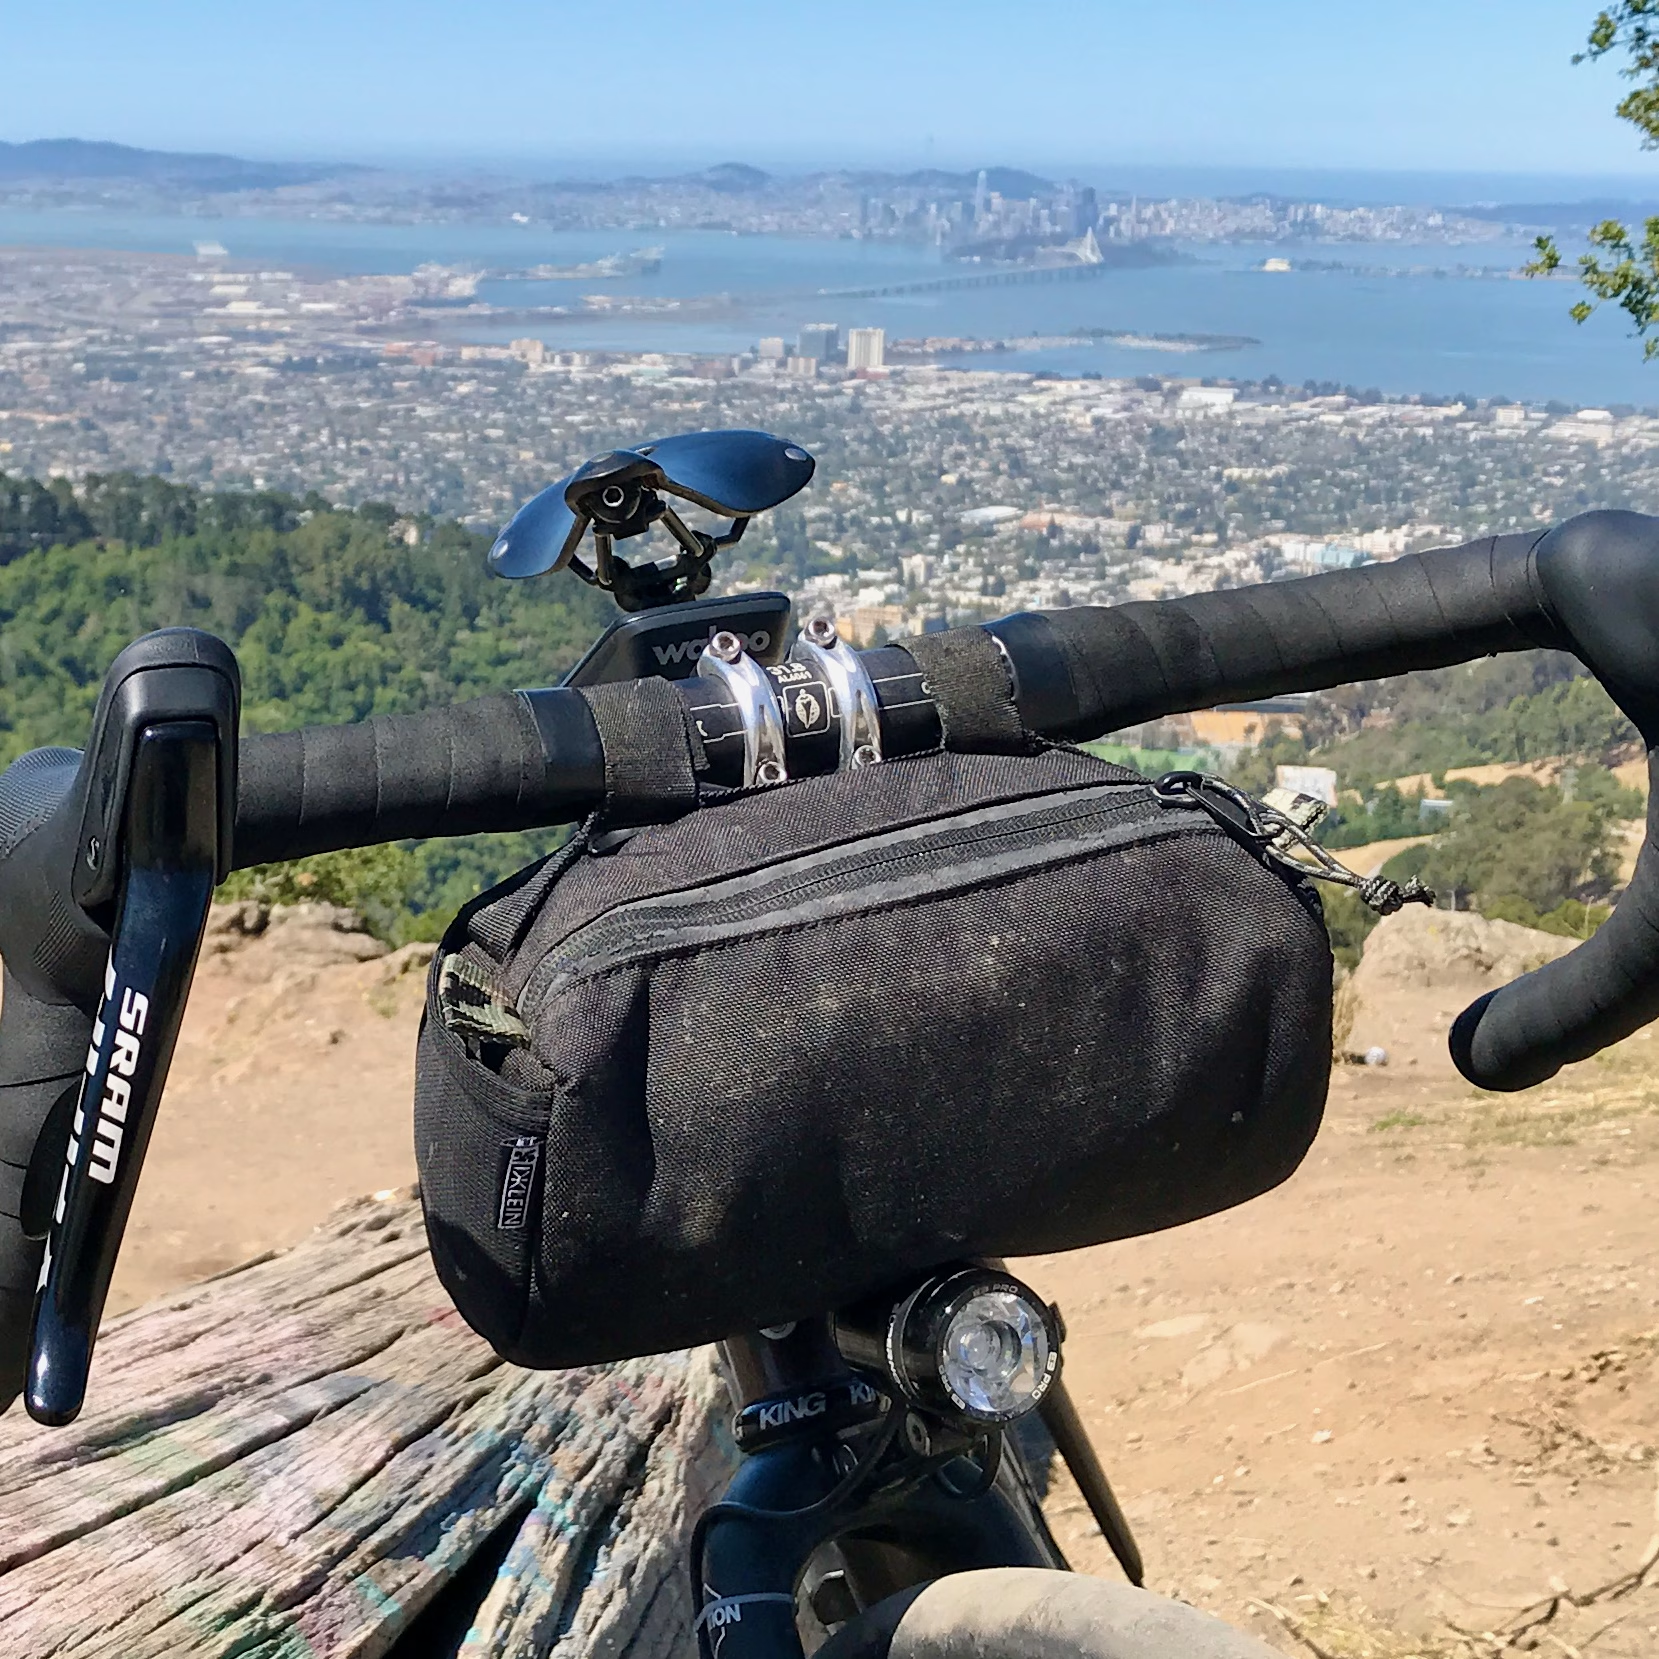
Depending on your cable routing and the other accessories you already have mounted to your handlebars, you’ll want to be sure that you can actually attach your handlebar bag securely. Most handlebar bags, such as the small Blackburn Grid bag shown below, use two straps that secure the bag to the handlebar on either side of the stem.
Many also include a third attachment point running from the backside of the bag to the head tube. This is intended to minimize the swaying or flopping that can occur on rough terrain or when pedaling aggressively, for example when out of the saddle on a steep climb. In some cases, pulling the bag back towards the head tube could put tension on your cables that affects braking and shifting.
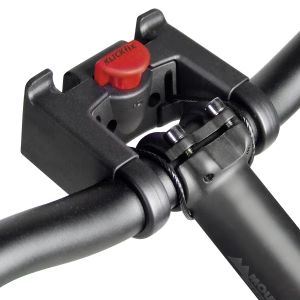
Some bag manufacturers, such as Ortlieb and Carradice, offer bags that use the Klickfix Handlebar Bag Mount. A similar but more streamlined solution is offered by Route Werks. In both cases, hardware stays attached to the handlebar and holds the bag out front of the handlebars keeping space behind clear for cables. The hardware also offers a highly secure attachment with no flop or sway. Plus the bags are easily removable and swappable to other bikes that also have the mounting hardware.
What are the downsides to a bag mounted with hardware. As sturdy as it may be, the hardware may fail over time, especially if most of your riding is on rough terrain. Short of failure, many hardware mounting systems will make some rattling noise that can be annoying. Finally, the hardware usually adds cost and weight to your system.
After examining your handlebar real estate and cable routing to decide which mounting system you might want, you’re ready to start studying the range of handlebar bag options while keeping in mind one final design factor.
Access to what’s inside your handlebar bag
If you only ever plan to access what’s in your handlebar bag when you are at a stop, then it matters little how the bag’s openings are designed. But since adventures can be grueling with unpredictable durations, it’s useful to practice the “keep moving forward” strategy. If it works for around the world record holder Lael Wilcox, it’ll work for you.
“Keep moving forward” means minimizing time spent not moving. If you can manage to drink, eat and add or remove layers while riding, you can “bank time” that will make the unavoidable stops less likely to derail your adventure. If you are comfortable riding one-handed, many of the things you need during a ride–snacks, arm warmers, lip balm, sunglasses, to name a few–can be stored in your handlebar bag and accessed while riding.
So you’ll want to test out a handlebar bag to see how easy it is to open while riding. Zippers can be stubborn, especially zippers designed to keep water out. Also potentially problematic are soft bags that lack the stiffness needed to counter the force of pulling a zipper. You definitely want to avoid having to remove both hands to get enough tension on the bag to pull the sipper open.
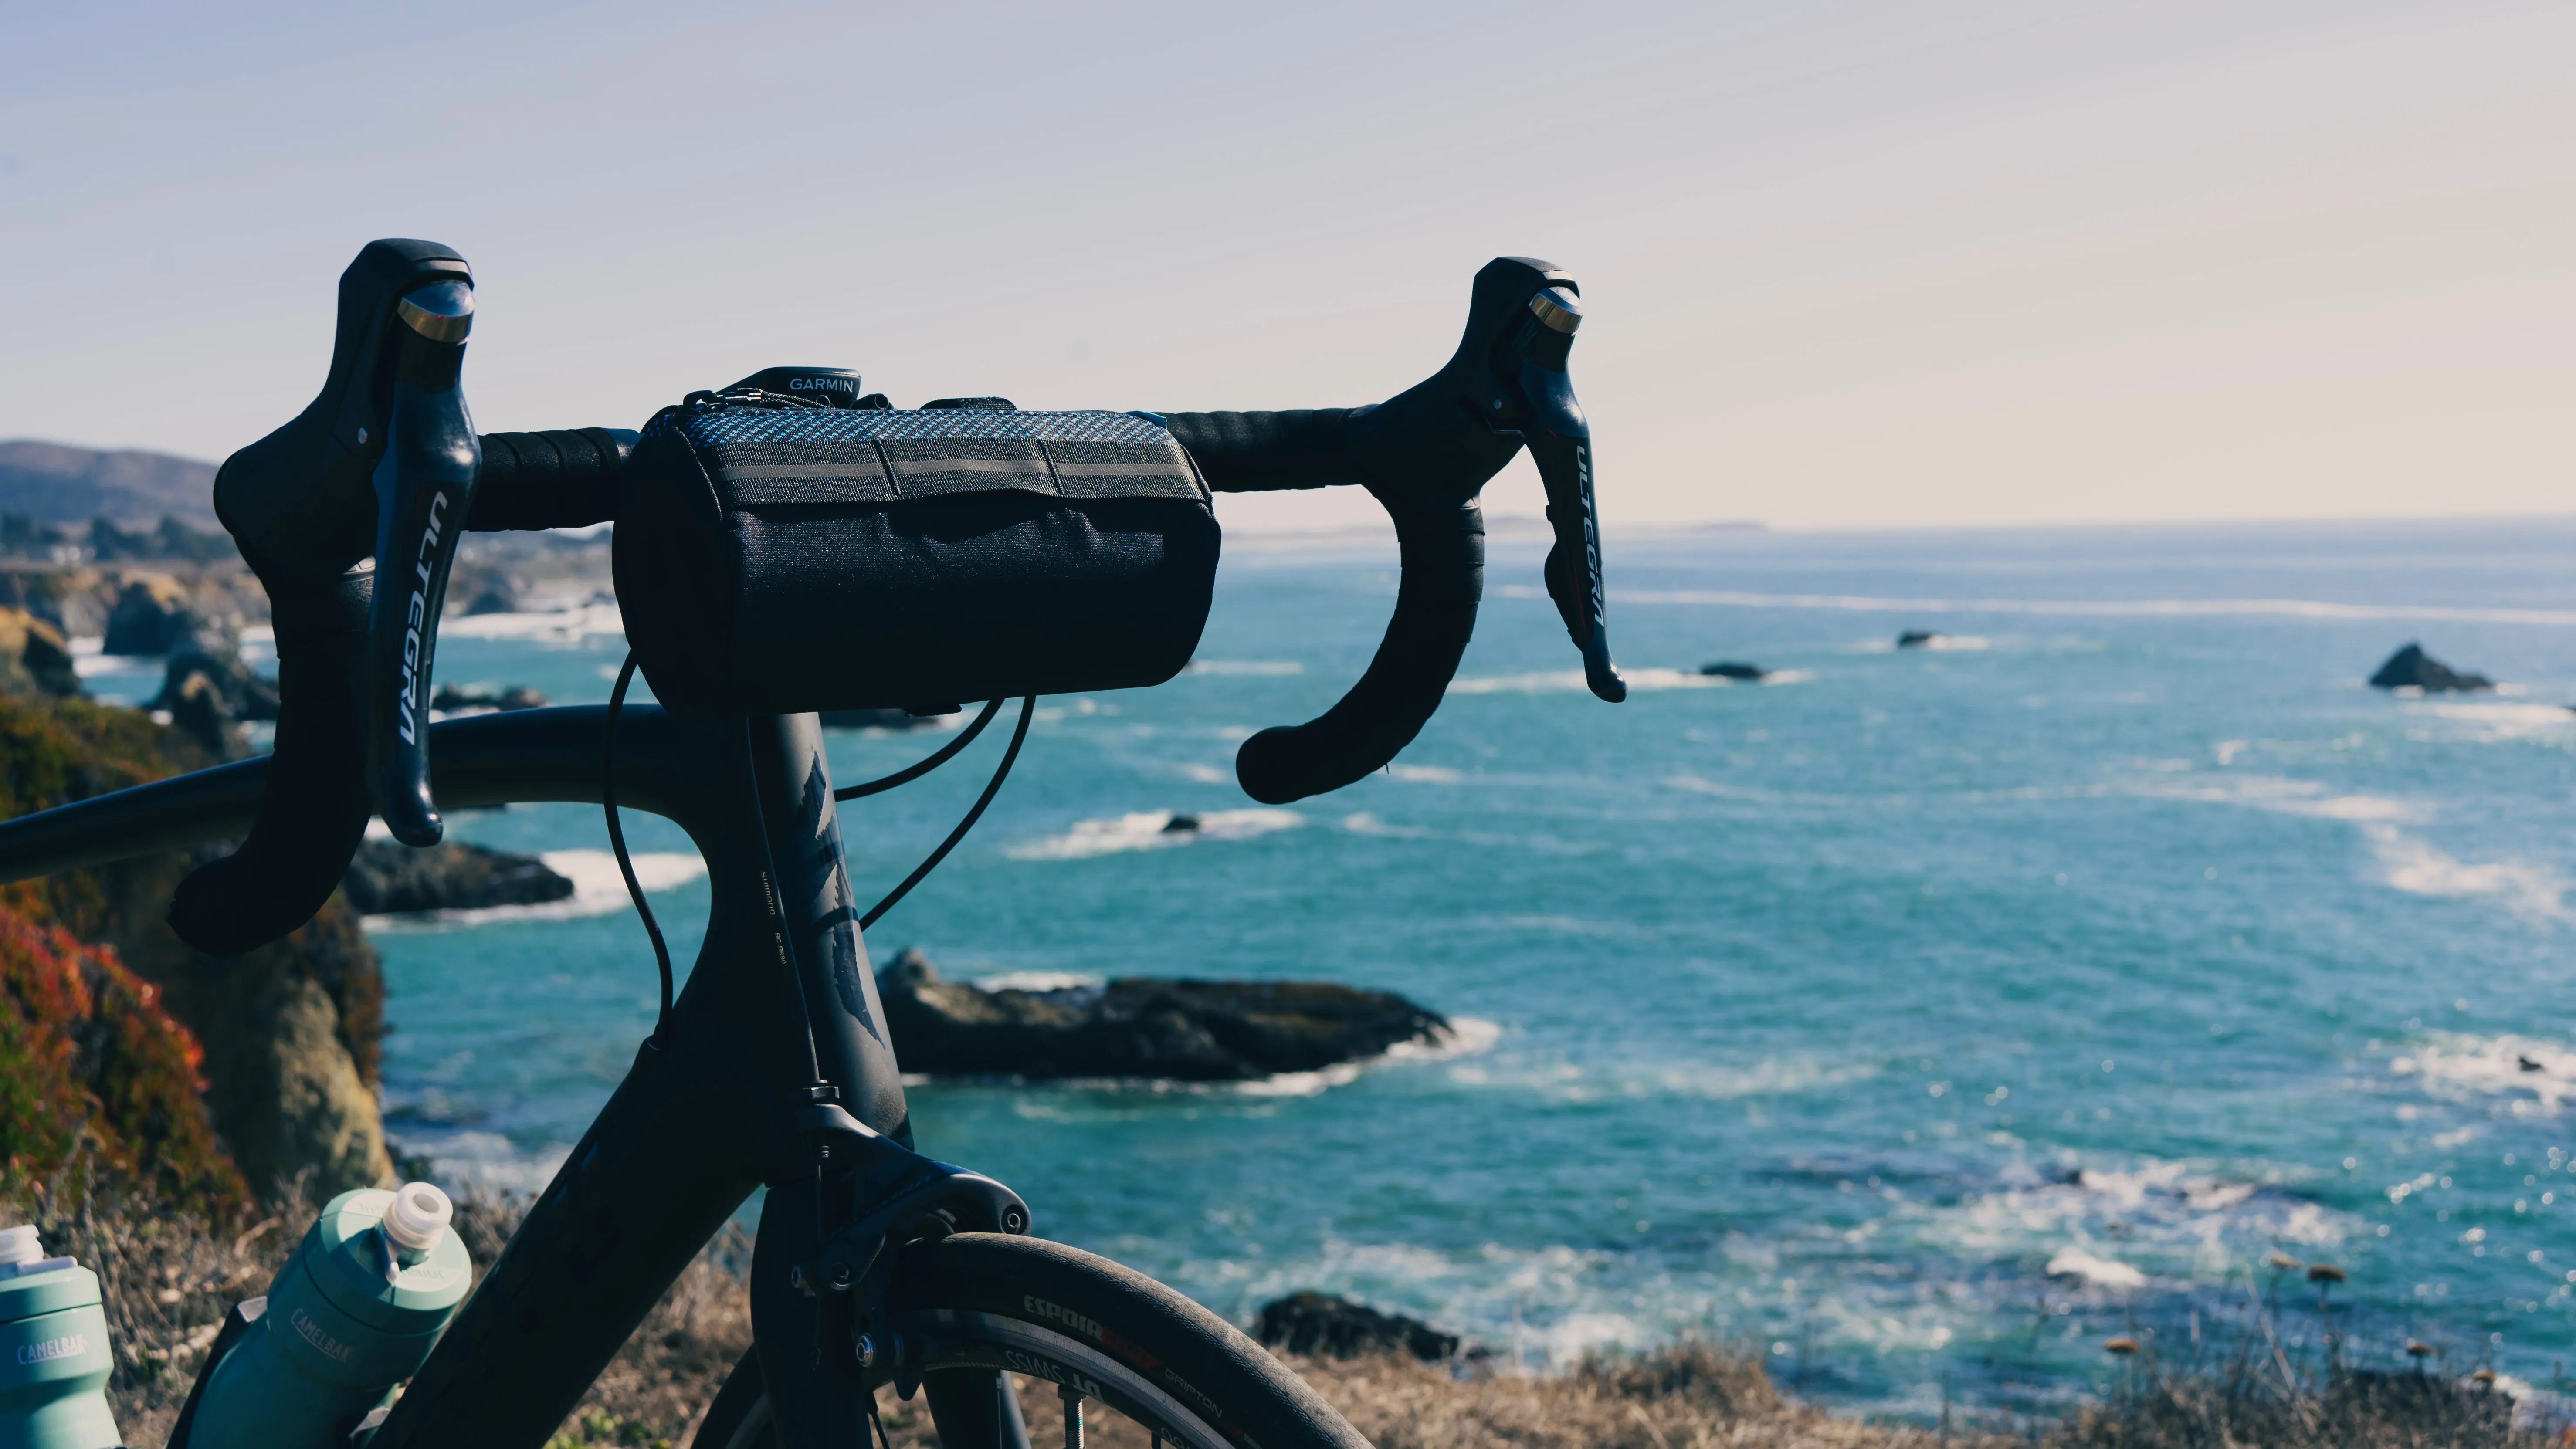
Bags designed with lids or flaps will, in most cases, be easier to open. I have not tried the Outer Shell Drawcord Handlebar Bag, but its quick-access lid and one-handed drawcord opening are consistently praised by reviewers (see here and here).

I have used extensively the previously mentioned Route Werks bag and love how easy it is to flick open. The lid tends to stay up once open, making it easier to find what you’re looking for. Yet it is perfectly weighted so that with a gentle tap the lid slaps shut in a locked position.
A final access-related consideration has to do with the number of external pouches or pockets. On one hand, external pockets might aid with organization. On the other hand, they tend to be so small that their uses–except to hold small items or to stuff wrappers or other trash while you’re riding–are limited. If you like the idea of external pockets, make sure they also can be easily accessed while riding (or plan to store in them only items you’ll need during stops).
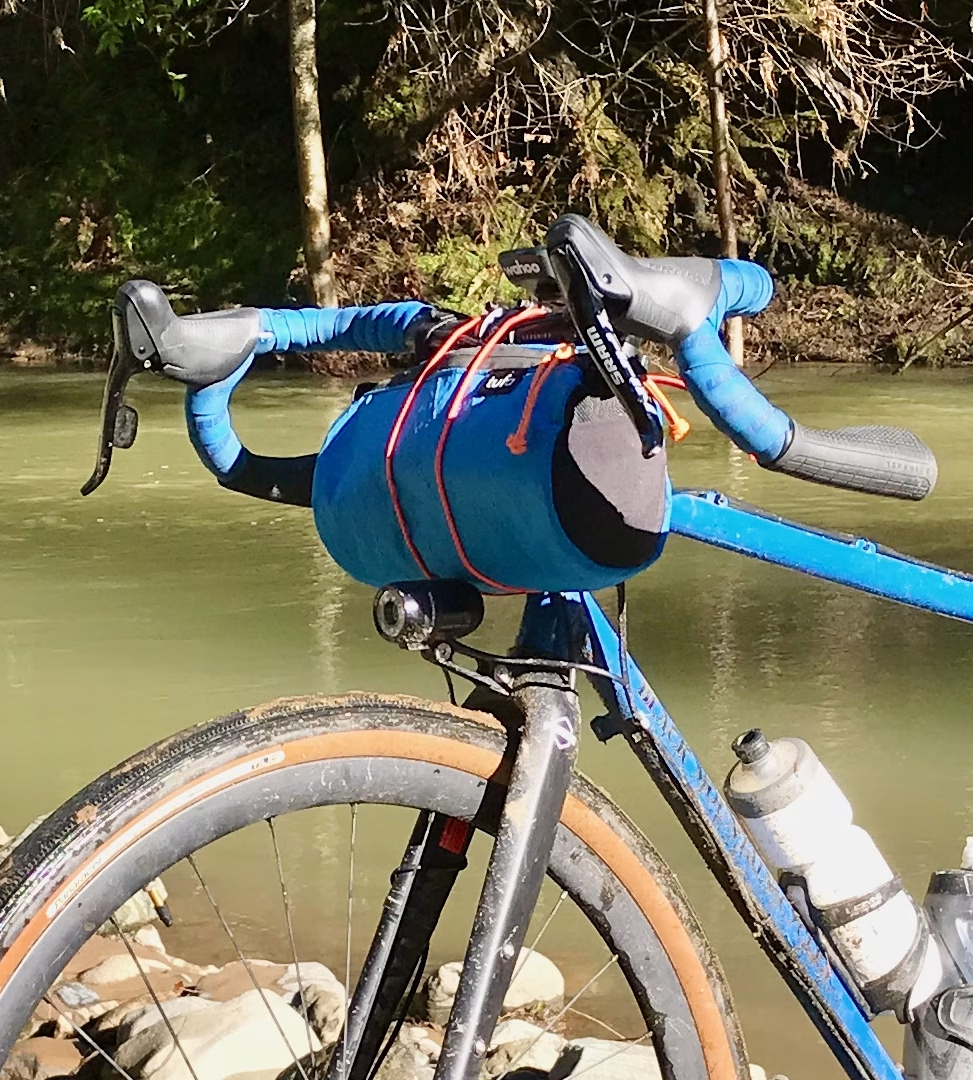
Related to external pockets are shock cords or MOLLE webbing that allow you to strap loose items to the outside of your handlebar bag. When I’m focused on getting to the top of a climb, for example, and don’t want to bother with opening my bag I appreciate being able to just slip my vest and warmers under a shock cord.

This isn’t necessarily a feature you need designed into a handlebar bag. For a few bucks you can buy some shock cord and cord locks to cinch the shock cord tight. Wrap it around your handlebar bag and head tube or stem and you’ve got an external storage system as shown in the image above.
In case you plan to go big with your handlebar bag, there’s one more consideration to be aware of: bag dimensions. You obviously don’t want a bag so wide that it interferes with your hands when on the hoods. You also need to make sure you have clearance between the bottom of the bag and your front tire (or fork-mounted light as seen in the photo). Simply measure your set up’s dimensions between the hoods and from the bars to the tire and then reference this against the specs that most manufacturers provide for their bags.
I’m embarrassed to admit how many different handlebar bags I own. But at least they’ve allowed me, by process of elimination, to hone in on the essential handlebar bag features to consider: carrying capacity, attachment system, and access to contents while riding as.
Now I start every ride with the confidence that I’m able to carry everything I might need on my adventure. But for some adventures, a handlebar bag alone is insufficient. Luckily, there are many more options for carrying stuff on your bike! Stay tuned for future installments on frame bags, top tube bags, stem caddies, seat packs and fork leg bags.