Adventure cycling tips are a dime a dozen. Sifting through them to find the golden nuggets–the tips forged from years of trial and error learning–is the challenge.
I consider myself an iconoclast. I tend to be wary of the latest trends and more interested in testing an idea that the mainstream cycling culture eschews. I don’t dismiss trends out of hand, but if they don’t improve my comfort on the bike then they simply won’t become part of what or how I ride.
It’s from this orientation that tips 8, 9 and 10 in Comova’s “25 for ’25 Adventure Cycling Tips” series are derived.
Experiment with what works for YOU
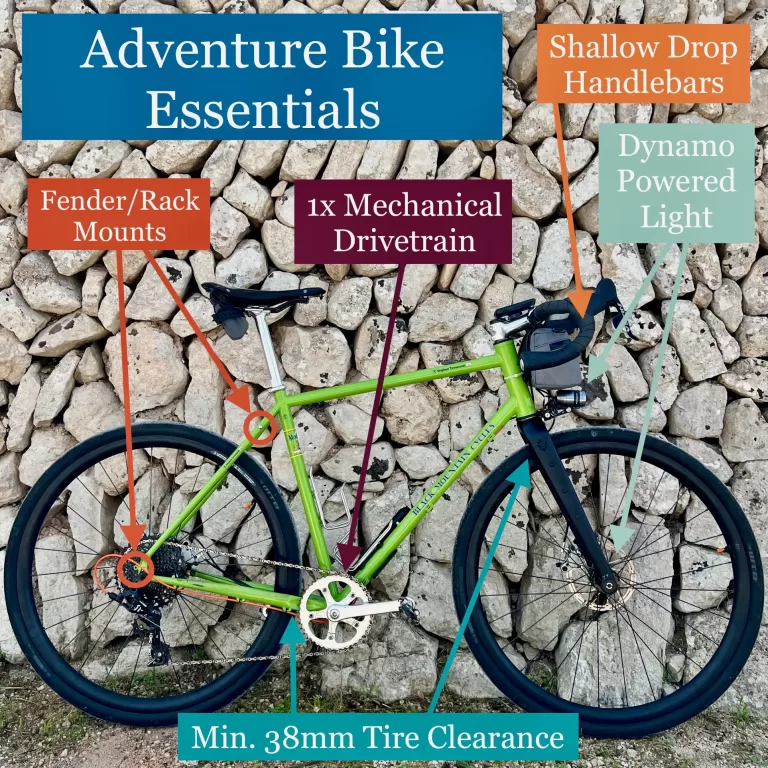
Tip #7 was a simple one: “Inspect your equipment”
I laid out some specific suggestions around what to look for in terms of wear on brake pads, cables, shifters, chains and more.
But here’s the thing…I’m pretty sure most people don’t regularly inspect their equipment. And that’s probably because many people wouldn’t know how to replace worn brake pads or a frayed shifter cable even if they noticed them.
One reason is the trend towards more and more complicated technologies on our bikes: internal cable routing, integrated cockpits, electronic shifting. It makes even thinking about maintaining a bike, much less repairing it, overwhelming.
And even if a trend doesn’t make a bike more complicated, it may simply not be a good fit for you. Integrated cockpits and internal cable routing, for instance, simply aren’t for everyone.
So instead of chasing the latest technological trends or making gear decisions to try to fit into a rigid cycling culture, experiment with what actually works for you. Sure, this can be expensive if you’re talking about swapping out handlebars or cranks. So start with these small steps:
What are the components and technologies that you understand or can learn how to maintain and fix?
For example, try cable-actuated mechanical disc brakes if you don’t know how to bleed hydraulic brakes.
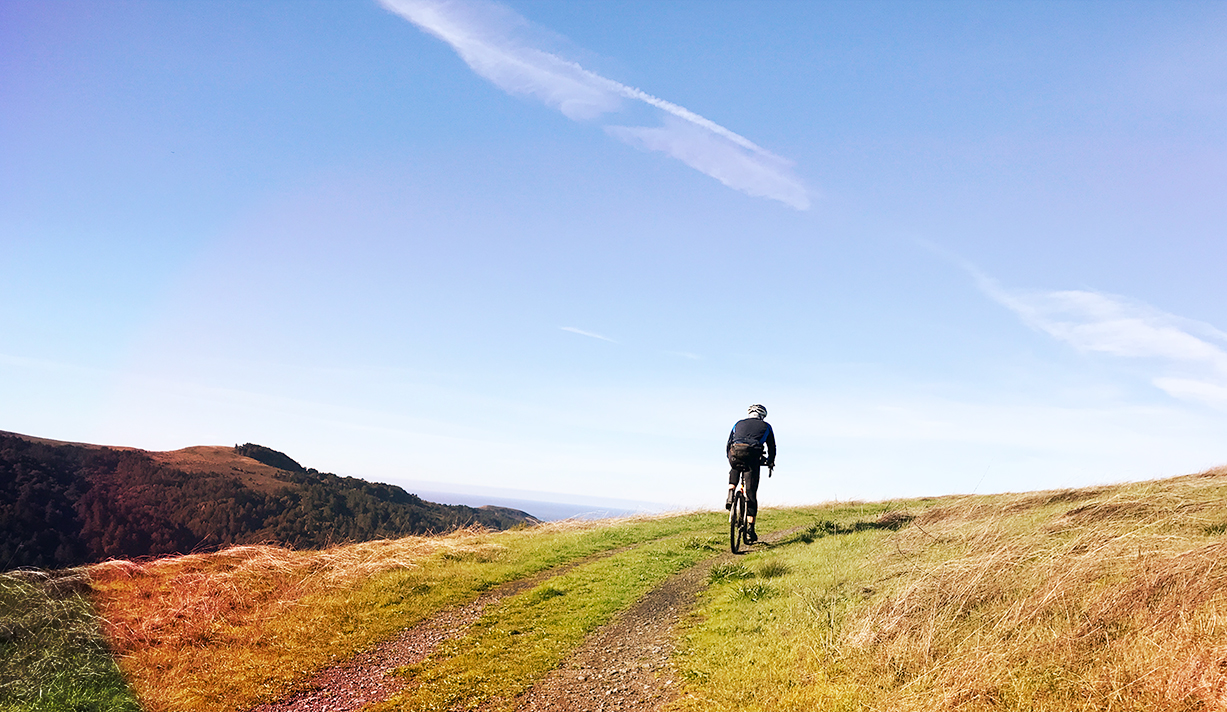
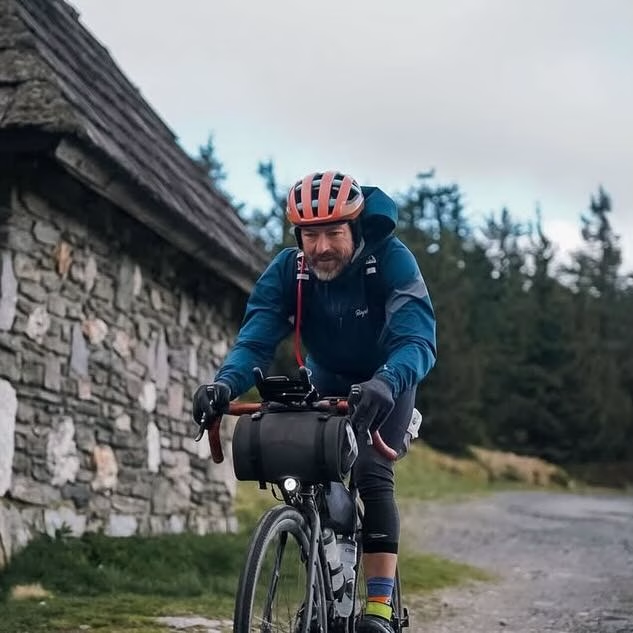
Go back to Tip #3–Carrying Stuff on Your Bike (starting with a handlebar bag)
Among road cyclists, there is finally an acceptance of handlebar bags. But the trend favors minute burrito bags. They are called burrito bags because that’s about all they can fit in them.
The bigger the adventure, the more you’ll need to carry. So why not experiment with a randonneuring-style bag or another type of top loading bag? Or a bag that mounts with a bracket and can be removed when you go into a store to resupply?
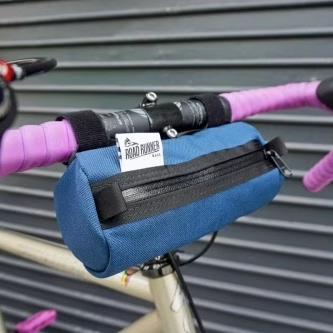
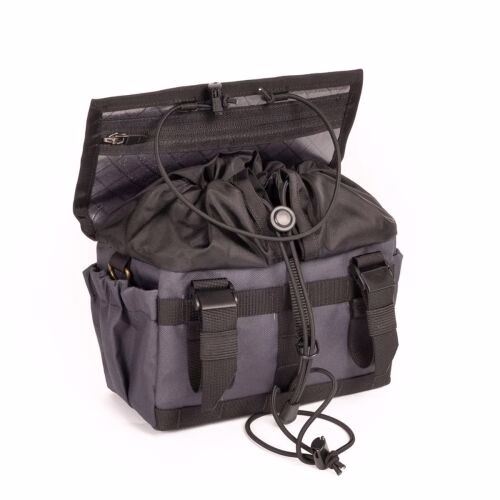
Which of the above bags is best for you? The short of it is that you need to think through the nature of the adventures you want to tackle, the amount of space needed, and what your handlebar set up allows in terms of different bag mounting systems. Top loaders are great for accessing items while pedaling whereas unzipping a tightly packed burrito bag while riding can be challenging.
So let go of the fear of being judged for not following the trends and embrace the spirit of experimentation. If you want to know more about some of the gear choices I’ve made, or have questions about what you should be experimenting with given your bike setup, I’m happy to give you my $.02!
Comfort First
For Tip #8, I focused on choosing components and different methods of carrying stuff on your bike. But another way to think about “Experiment with what works for YOU” is in terms of comfort.
Most of what the mainstream cycling world pushes on us is not about making our rides more comfortable. But if you really want to up the adventure quotient of your rides, you need to be prepared for the inevitable. And the more adventurous you get, the more inevitable it becomes that you’ll find yourself on a ride that is taking waaaaay longer to complete than you anticipated.
That’s why being comfortable on your bike is so important. If you’re comfortable, even when an adventure goes awry you can remain calm knowing that you can endure whatever length of time it might take to complete the trek.
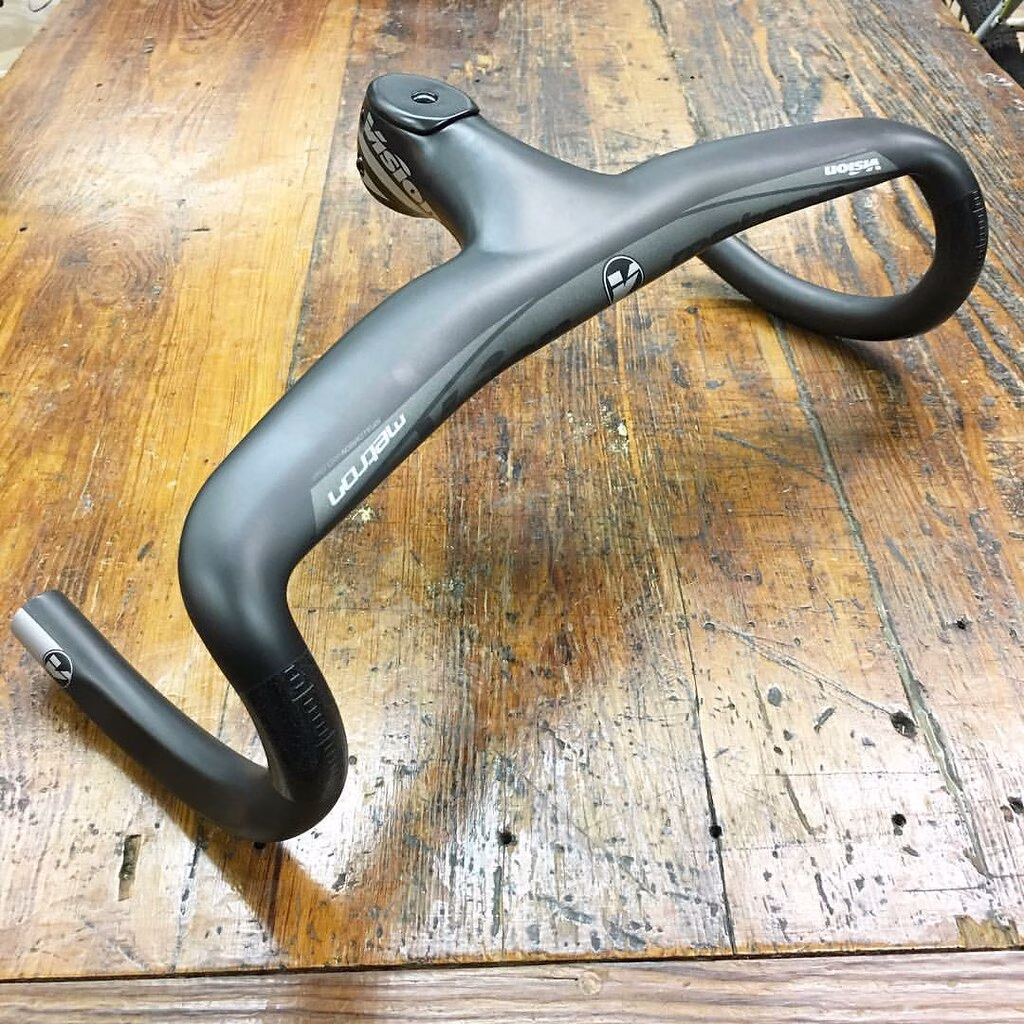
Contact points are a great place to start when thinking about the comfort of your ride. Those are the points where your body touches the bike: handlebars, saddle, and pedals.
Previously, I wrote about Redshift’s ergonomic bar end grips here. They are very unconventional and look funny. People often ask me questions about them while trying not to be judgmental. But, boy, do they make riding in the drops more comfortable!
So think about the friction points—literal or figurative—that make your rides less pleasant than you’d like. What can you experiment with to reduce or eliminate those pain points?
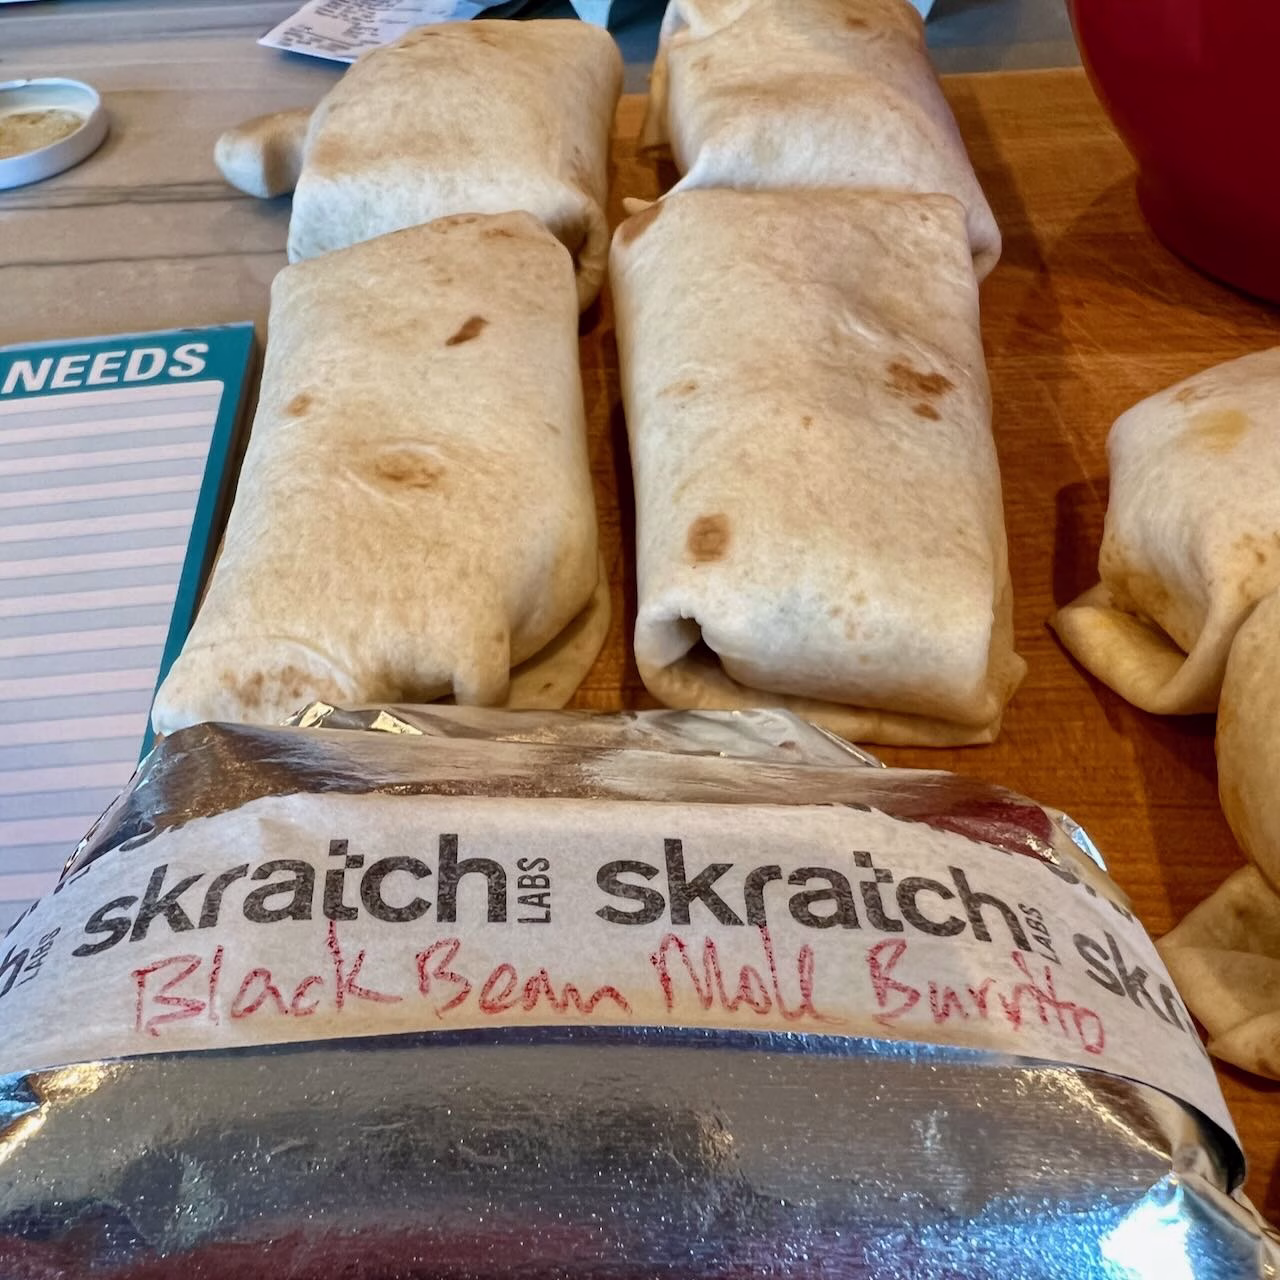
How about food on a ride? Don’t like the “friction” that dry energy bars or the artificial flavors of energy gels create in your digestive system? Experiment with bringing real food on rides to make your digestive system more comfortable!
Below are some examples of things I’ve done to increase my ride comfort:
- Wider tires to absorb bumps and reduce vibrations
- Prepare real food like burritos and wraps to carry with me
- Ride with a light for peace of mind in case a ride runs long
- Redshift’s bar end grips.

Dial It In
Now that you’ve considered ways of experimenting with your comfort on the bike, the next step is to dial it in. You simply can’t afford to experiment with your comfort when you’re embarking on a big adventure. Everything needs to be dialed in.
In practice, this simply means trying out whatever the new thing is on multiple rides, ideally a couple long ones, so you can be confident it’s working how you want. In terms of comfort, this might mean a new saddle, handlebars, fit adjustments, shoes, pedals, or bibs, for example. Nutrition is an obvious one. Want to try substituting real food for processed bars? Better try it out an a few rides first to see how your body responds.
For a lot of cyclists, it’s this very process of experimentation that motivates us to ride. Whether you call it trial and error, tinkering or experimenting, it’s the process of learning by doing. When we get things dialed in, there’s a great sense of satisfaction, not to mention a big confidence boost as we head off into the uncertainty of our next adventure.

How dialed is dialed enough? A sun dial is pretty crude. But an atomic clock is too precise.
I’m not a very data-driven person. I don’t use a power meter or even measure my heart rate. I don’t even have a “speed” or “average speed” field on my GPS device’s screen. That might not be a surprise since I’ve established that I’m all about comfort and confidence on big adventures over watts and speed.
But you need at least a bit of data to decide whether your experiment should be implemented on your next adventure. Aim for test rides in conditions similar to your adventure route. Is it going to be hot? Better make sure your new handlebar tape isn’t super slippery when your hands are sweaty. Will you be riding at night? Then head out on some evening rides to see if your lights are strong enough.
Peace of mind goes a long way when you’re undertaking a big challenge. That’s why the goal of “dialing it in” should be to roll out on your adventure without having to wonder whether a piece of gear or a nutrition or navigation strategy is going to function as you intend.